Home » Hashtags

Tag: Hashtags

Twitter Hashtags Lists and Mentions

Twitter Hashtags, Lists, and Mentions (An #AuthorToolBoxBlogHop Post)

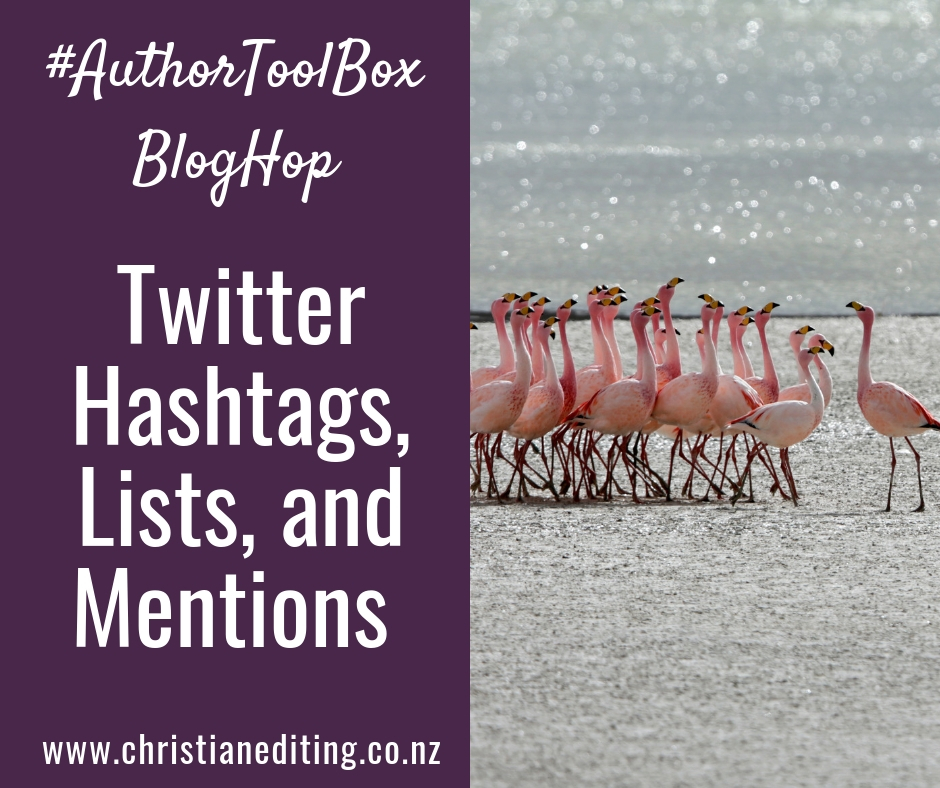
Last week, I talked about why authors need to be on Twitter.

Today I’m going to give you a little background to three important Twitter topics: hashtags, mentions, and lists. And an important Twitter Tip that you’ll need to remember before you even think about automating any Twitter tasks. I’ll be back next week to talk about Twitter tools and automation.

About Hashtags

You’ve all seen hashtags—they’re all over social media. Things like #amreading or #amwriting or #amediting … basically, anything preceeded by a hash symbol (#, which is what Americans call a pound key).

Hashtags are important because they are how people search for topics on Twitter (and Instagram). You want to hear the latest publishing scandal? Search for #CopyPasteCris. Want the latest Game of Thrones gossip and spoilers (or to vent about the current episode)? Try #gameofthrones or simply #got. Looking for a book to read? Try #amreading or #christfic or #inspy or #romance or #bookworm. Using #cr4u (Clean Reads for You) will always get you a lot of retweets.

You can even invent your own hashtag, for a book, a series, a genre (like #cr4u), or an event. And you can use the same hashtag on Facebook and Instagram (Instagram loves hashtags. Facebook … allows them, but not everyone uses them properly #soyougetlotsofwordsjoinedtogetherwhichdontmeanmuch.

#TwitterTip. If you are using multiple words in a hashtag, capitalise each word to make it easier to read: #SoYouGetLotsOfWordsJoinedTogetherWhichDontMeanMuch. Still a mouthful, but it is at least readable. Click To Tweet

Mentions

These are called @-mentions (at-mentions), because of the @ key which comes in front of your Twitter name (so I’m @iolagoulton). If you want someone to see your Tweet, you tag them with an @-mention. This also means your tweet will show up in the Twitter feed of all their followers … so it’s not something to abuse.

But it is considered good Twitter etiquette to @-mention someone if:

  • You’re linking to a blog post about them.
  • If you’re reviewing their book.

If you’re interviewing them.

(This relates to my post last week, about why you need to be on Twitter. Why would you want to miss out on knowing when people are being nice about you?)

Twitter Lists

Once you’ve been on Twitter a while, you’ll find you can’t actually scan every tweet from every person you follow (and you wouldn’t want to, especially not if some of the people you follow are the spam-every-six-minutes types). But that doesn’t mean you want to unfollow them …

Twitter lists are the answer to this dilemma.

Group similar accounts into a List, and you can just review tweets from that list. Sometimes I add interesting people to a list, then find out they are tweet-every-six-minute spammers. The solution is simple: take them off the list.

(As an aside, this is why you shouldn’t be a tweet-every-six-minute spammer. It’s possible no one will notice if they follow hundreds or thousands of active accounts. But if they put you on a list, spammy behaviour is easy to spot and difficult to ignore.)

The way they achieve this annoying omniscience is through automation. They’ll use a tool to preschedule hundreds of tweets each week, each promoting themselves or their books. This behaviour gives automation a bad name.

But there is a better way to use automation. I’ll talk about that next week.

Meanwhile, here’s my big #TwitterTip (hey! See the hashtag!):

Twitter is not all about you.
If you spend any time on Twitter (or read blog posts about Twitter or other social media), you’ll come across some variation of the Pareto Principle, also known as the 80:20 rule #TwitterTip Click To Tweet
No more than 20% of your posts should be about you.

Most of your posts (80%, or four out of five) should be posts from or about other people, such as retweets of interesting blog posts. That is, blog posts which are interesting to your target reader … which may or may not be people like you. Not blog posts you liked because they had useful writing or editing tips (unless your target reader is a writer).

If you can focus on this 80:20 principle, focus on providing content that your readers will find interesting, you’ll get interaction with readers and you might even find you come to enjoy using Twitter.

But if you make it all about you … Yeah. You might get nothing but tumbleweeds. Not so good.

This post is part of the monthly Author ToolBox Blog Hop, organised by Raimey Gallant. We now have over 40 blogs participating. To find more Blog Hop posts:
Five Tips to Polish Your Presence on Pinterest

Five Tips to Polish your Presence on Pinterest

Pinterest has made several changes over the last year. If you’re on Pinterest, it’s worth taking a little time to polish your profile

Today I’m sharing four tips to polish your presence on Pinterest, and one tip for pinning:

  • Choose your Profile Cover
  • Add a Board Cover Photo
  • Sort your Boards
  • Section your Boards
  • Use hashtags

1. Choose Your Profile Cover

Pinterest have introduced a profile cover photo. But this isn’t the same header image or cover photo as on Facebook or Twitter—you can’t design and upload your own image. Instead, Pinterest forces you to choose from three options:

Latest Pins

The most recent Pins saved to your profile, whether you’re pinning your own pins or other people’s pins. The advantage of this option is it is current. The disadvantage is that what you pin might be personal, not around your author brand. Do you want your Profile Cover to display your Pins and your books, or  recipes for cauliflower pizza and obscure Dr Who memes?

Recent Activity

Pins people saved from your site and linked accounts. This shows which of your pins are the most popular, which implies some of your pins are popular enough that other people are saving and sharing them. My Pinterest analytics say this is the case, but my Recent Activity cover doesn’t share the same message …

Not too sure what happened with this one!

Pick a Board

I think this is the best option. For published authors, pick a board that includes all your book covers. For unpublished authors, pick something that’s consistent with your author brand, and interesting or inspirational (not the cauliflower pizza). Don’t pick a group board or something like writing tips unless that reflects your author brand and target market.

I share about reading and writing on Pinterest (that’s one of the beauties of Boards: people can choose to follow only the Boards they are interested in). I went through several Boards trying to decide which to use. Did I want to use a group board (no), a board about writing (no), or a board about reading (yes).

I eventually settled on using my Favourite Quotes board, as that highlights great lines from some of the books I’ve read. It does (unfortunately) include one quote three times, but hopefully that will change as I add more quotes to the board.

Pinterest Profile Cover

Action Point

Head over to Pinterest, go to your Profile, and click on the grey pencil (top right-hand corner) to choose your preferred Profile Cover.

2. Add a Board Cover Photo

Did you know you can choose which Pin shows as the cover on each of your Boards? This gives you another opportunity to reinforce your author brand visually … and to give your Pinterest visitors a clear picture of what they can expect to find on your Board.

Board Cover Photos on Pinterest

While Pinterest prefers vertical images as a rule, your Board Cover Pin should be square, as that is how it is displayed on desktop and mobile. My Board Cover Pins are 800 x 800 pixels, and I created them in Canva.

To Create your Cover Photo

  • Create a branded image in Canva.
  • Go into Pinterest.
  • Click the red + button at the top right-hand side of the page.
  • Select Upload Image.
  • Upload your branded image.
  • Add the URL of the relevant page on your website.
  • Add a description of the Pin (this could be the same as your Board description).
  • Click Done.
  • Go to your Boards page.
  • Click the grey pencil at the bottom of the relevant Board to Edit your Board
  • Click Change cover.
  • Select your branded Pin.
  • Save Changes.
  • Repeat for each Board you want to brand.

Action Point

Create and Pin branded Cover Photos for your author boards.

3. Sort Your Boards

In case you didn’t know, you can also sort your boards. This is a good idea, as it means you can position your branded boards at the top to promote and reinforce your visual brand. If you don’t sort your boards, then Pinterest will choose how they display the Boards (Last saved to, A to Z, Newest, or Oldest). This might not be the image you want to send …

  • Go to Pinterest.
  • Display Boards.
  • Go to the Sort Boards menu to the right, and select Drag and Drop.
  • Drag your Boards into the order you want. Start with the Board you want at the top, and work across, then down.

Action Point

Sort your Boards to reinforce your author brand by placing your most important Boards at the top of your page (but without looking entirely self-promotional).

4. Section Your Boards

You can now section (aka segment) Boards within Pinterest. This is a great idea, as it means you don’t have to have a gazillion separate boards. Instead, you can have one board for a topic (e.g. Food), then divide that board into appropriate sections (e.g. breakfast, lunch, keto, chocolate).

Illustration of Pinterest Board sections

This is also great for authors, as it means you don’t have to have separate Boards for each book (which can look self-promotional and self-indulgent). Instead, have one Board for each series, with individual Pins sectioned by book.

How to Section a Board

  • Click into a specific Board.
  • Click Add Section.
  • Click Organise (at the top right-hand corner).
  • Select the Pins you want to move. Click Move.
  • Hover over the Section you want to move the Pins to until you see “Move X Pins here”.
  • Click.

This means you can combine and eliminate small Boards … which is good Pinterest practice anyway. To combine Boards, go to your Boards page, click Organise (at the top right-hand corner), and move Pins from their current Board into the appropriate Section of your new Board. You should have a minimum of five Pins on each Board (and ideally at least twenty).

For more information, see this post from the Pinterest blog: Organise Your Ideas on Pinterest.

Action Point

Section your larger boards to make them easier to navigate.

Tidy up your Pinterest account by combining and sectioning some of your smaller Boards.

5. Use Hashtags

In September 2017, Pinterest official announced that they would now support hashtags in the same way as Twitter and other popular social media apps. The principles are the same: choose relevant hashtags people are likely to search. Twitter suggest using no more than twenty hashtags on a single pin, but other Pinterest experts suggest four (as using too many hashtags looks spammy).

Action Point

Add up to four hashtags to each Pin (e.g. the hashtags you’re using when you post to Twitter or Instagram).

And If You’re Not on Pinterest …

If you’re not in Pinterest, perhaps you should be! Pip Reid, Kiwi author and co-owner of Bible Pathway Adventures, has collaborated with Mark Dawson of Self-Publishing Formula to write a short introduction to Pinterest. It’s available free from Amazon: Pinterest for Authors.


What tips do you have for using Pinterest?